NanoPB에 통신 짬때리기 (Pico-SDK + NanoPB + CRC32 + COBS)
---
config:
  layout: elk
  theme: default
  look: classic
---
flowchart LR
 subgraph SBC["SBC"]
        a["USB"]
  end
 subgraph MCU["MCU"]
        b["USB"]
  end
    a <--> b

    style MCU stroke:#00C853
    style SBC stroke:#FF6D00
최근 진행중인 한 프로젝트에서 SBC와 MCU간에 통신이 필요한 일이 있었습니다. SBC에서 GPIO를 직접 제어하기는 여러모로 제약이 있으니 MCU를 통해 액추에이터를 움직이고 센서 데이터를 받아오는것이었습니다.
// ${데이터종류},{데이터1},{데이터2}\r\n
char *token = strtok(arr, ",");

token = strtok(NULL, ",");
if (token == NULL) {
	break;
}
strncpy(type_str, token, 4);
switch(type_str[0]) {
	case 'W':
		type = FOO_W;
		break;
	case 'L':
		type = FOO_L;
		break;
	default:
		type = FOO_N
		break;
}

token = strtok(NULL, ",");
if (token == NULL) {
	break;
}
strncpy(boo, token, 16);
항상 하던대로 NMEA와 비슷한 나름의 통신 규칙을 만들고 SBC와 MCU 양쪽에 송신 및 파싱 코드를 작성했습니다. 당장은 작동 자체는 잘 되지만, 크리티컬한 환경에서 사용하자니 점점 제가 짠 코드에 불신이 생기기 시작했습니다. 아니나다를까, 코드를 다시 들여다봤더니 sscanf()를 남발하는건 기본이고 strtok()와 함께 중간중간 박혀있는 atof(), strncpy() 등이 버퍼를 어떻게 터뜨려먹을지 전혀 상상이 되지 않았습니다.
엄청난 씽크빅으로 예외를 전부 찾고 여기저기 NULL체크하는 if문을 칠해둬야 할까.. 아니 그전에 알고리즘 강의를 더 집중해야 했었나.. 아무튼 이런 상황에서 제가 직접 통신 코드를 작성하는건 그렇게 좋은 선택지가 아니라는 것은 확실해보였습니다.
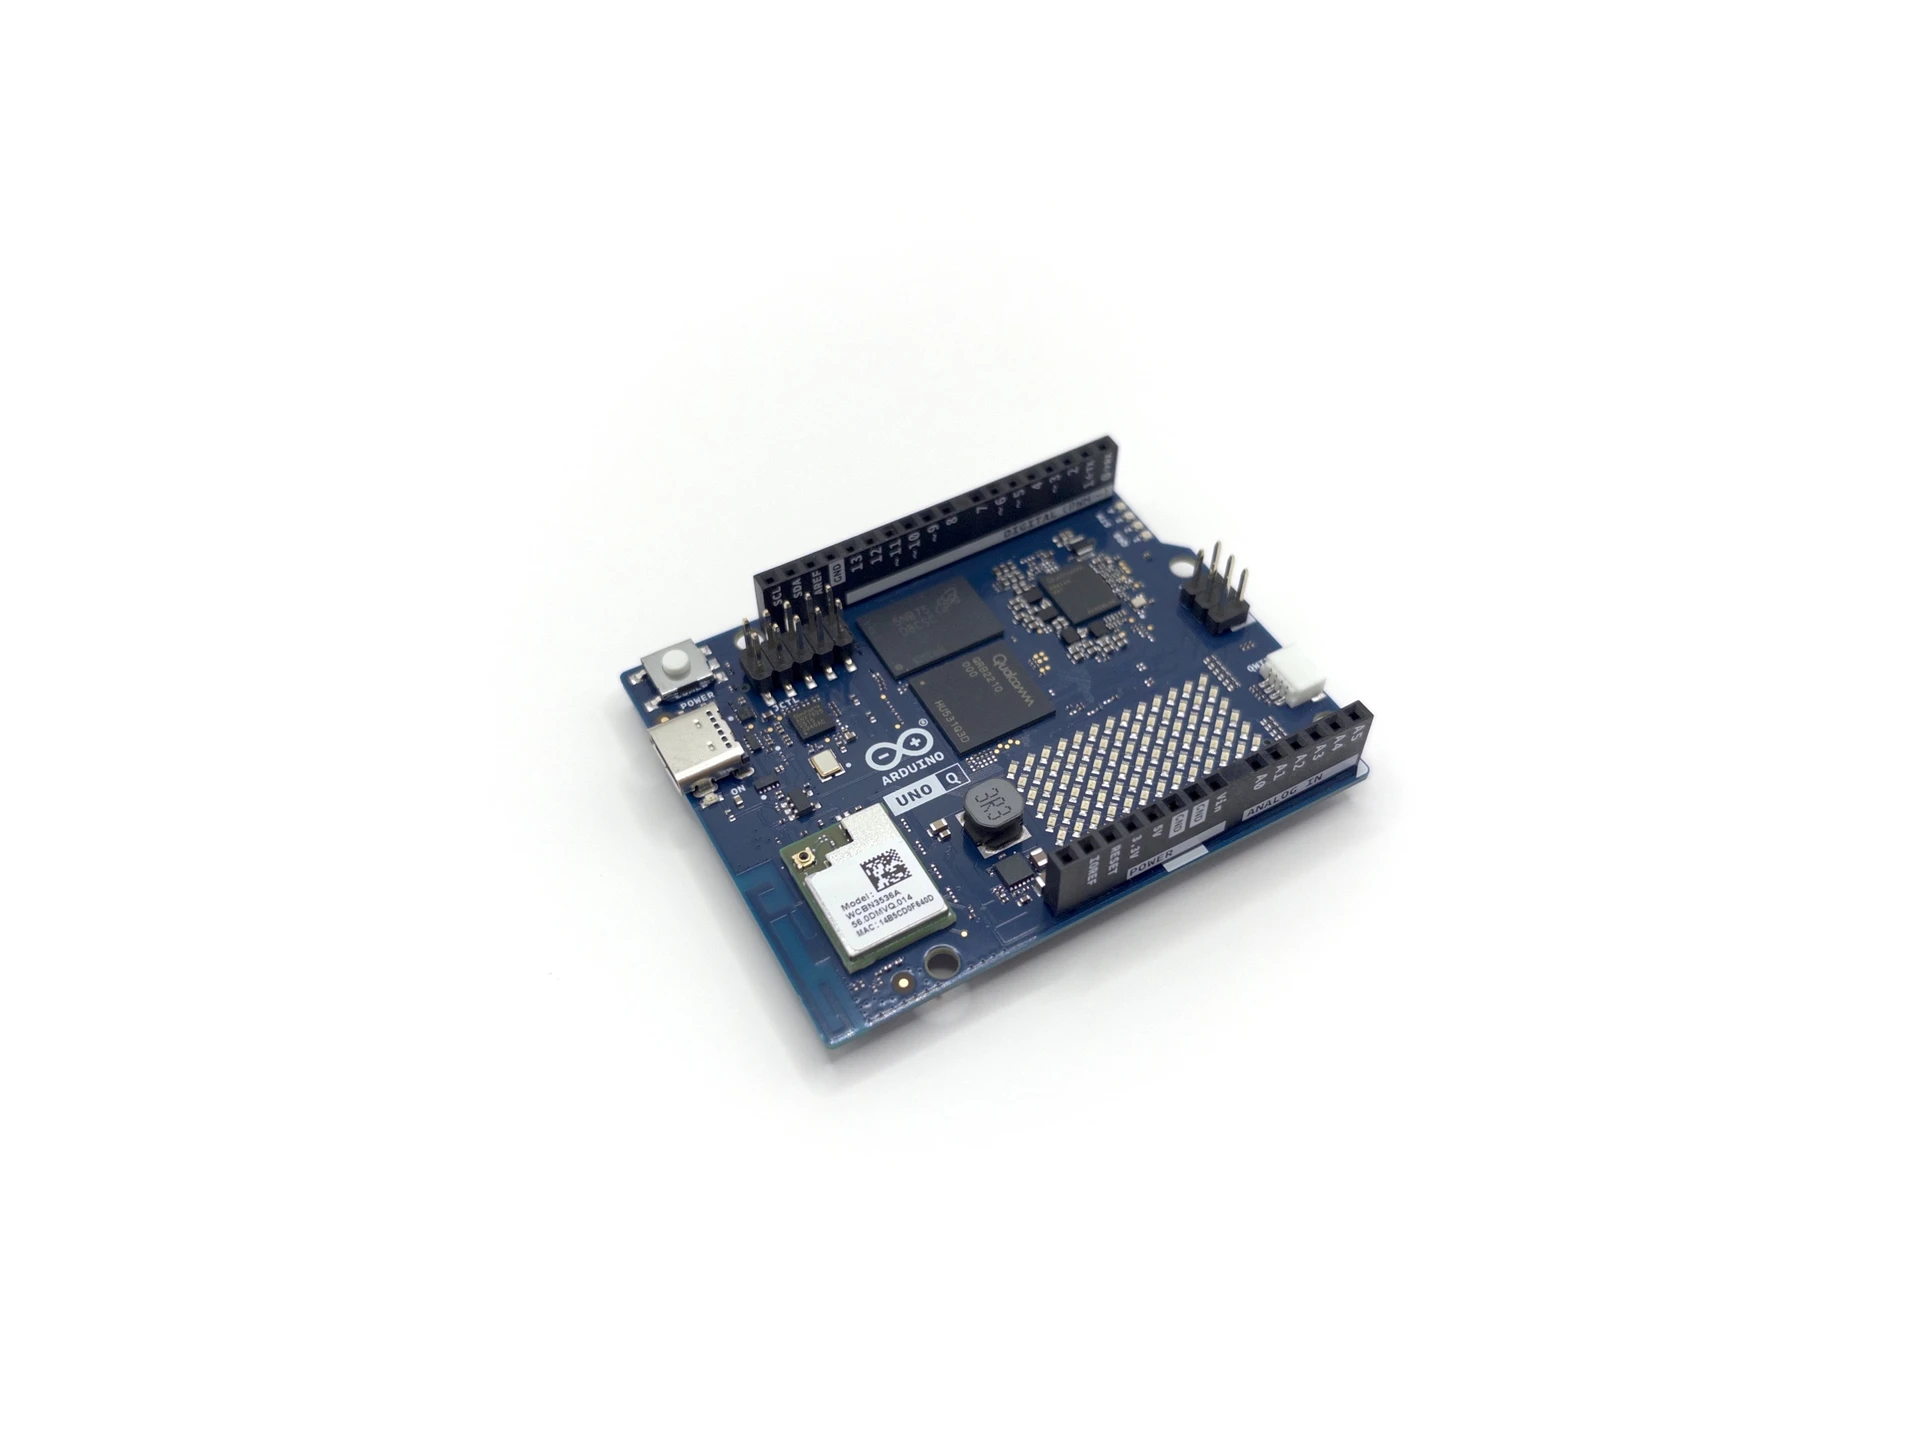
그래도 아두이노 컨셉은 지켰다, Arduino UNO Q 핸즈온
은은하게 느껴지는 똥맛.. Arduino UNO Q의 구석구석을 살펴보고 인공지능 기능을 테스트해봤습니다.
www.varofla.com그러던중 떠오른것이 바로 직전에 리뷰했던 UNO Q였습니다. UNO Q도 SBC와 MCU의 조합인데, SBC의 파이썬 코드와 MCU의 C언어 코드가 서로 소통하기 위해 RPC라는것을 사용하고 있었습니다. SBC의 파이썬 코드에서 Bridge.call(”key”, value)를 날리면 UART로 데이터가 날아가서 MCU의 C쪽에서 미리 등록한 callback이 argument와 함께 호출되는 것이었습니다.

이거 뭔가 통신을 날로먹을 수 있는 희망이 보입니다. UNO Q쪽을 조금 더 조사해봤습니다.

GitHub - arduino-libraries/Arduino_RouterBridge: A wrapper of Arduino_RPClite, …
A wrapper of Arduino_RPClite, specific for the Arduino UNO Q. It provides a better UX and API for sketches. - …
github.comUNO Q는 RPC를 위해 Arduino_RouterBridge를 사용하는데, 설명에 따르면 내부적으로 Arduino_RPClite를 wrapping한다고 합니다. RouterBridge의 내용을 살펴보니 데이터 송수신에 UNO Q의 SBC와 MCU를 연결하는 Serial1을 사용하도록 하거나 zephyr task를 생성해 RPClite의 데이터 fetch(get_rpc())와 callback 호출(process_request()) 메소드 등을 호출하고 있었습니다. 한편 RPClite쪽을 확인해보면 인코딩/디코딩을 위해 MsgPack라이브러리를 사용하고 있었습니다.
---
config:
  layout: elk
  theme: default
  look: classic
---
flowchart LR
    z["APP"] -- RPC API 호출(callback 등록 등) --> a["Arduino_RouterBridge"]
    a -- callback 포인터, stream 객체 전달 --> b["Arduino_RPClite"]
    b -- callback 호출 --> z
    b -- MessagePack 인코딩/디코딩 API --- c["MsgPack"]
    b -- 시리얼 데이터 fetch --- s["Stream"]
라이브러리간의 관계를 대충 그래프로 그려보면 이런 느낌입니다.
RPClite라이브러리에서 callback을 처리하고 프로토콜에 대한 구현은 MsgPack 라이브러리쪽입니다. RPClite는 아두이노 전용이니 RPC는 포기하고, MsgPack을 살펴봤습니다.

JSON을 직렬화해주는 프로토콜이라 합니다. C에서 아주 골때리는 JSON 파싱을 생략하고 크기 자체도 줄여주는것 같습니다. (생각해보니 cJSON이 있긴 하네요) 패킷 안에 key 이름이 문자열로 그대로 들어가버리네요. 만약 기존에 JSON을 사용하고 있었다면 꽤 괜찮을것 같습니다. key 이름이 패킷에 들어가면 패킷의 크기가 너무 커지게 되어서 지금 상황에는 매력적이지는 않아보였습니다. 조금 더 찾아봤는데요,

Protobuf(Protocol Buffers)을 추천하는것 같네요. 이걸 사용해보기로 했습니다.
Protobuf #
Protocol buffers are Google’s language-neutral, platform-neutral, extensible mechanism for serializing structured data – think XML, but smaller, faster, and simpler. You define how you want your data to be structured once, then you can use special generated source code to easily write and read your structured data to and from a variety of data streams and using a variety of languages.
Figure 1. A proto definition.
protobufedition = "2024"; message Person { string name = 1; int32 id = 2; string email = 3; }Figure 2. Using a generated class to persist data.
java// Java code Person john = Person.newBuilder() .setId(1234) .setName("John Doe") .setEmail("[email protected]") .build(); output = new FileOutputStream(args[0]); john.writeTo(output);Figure 3. Using a generated class to parse persisted data.
cpp// C++ code Person john; fstream input(argv[1], ios::in | ios::binary); john.ParseFromIstream(&input); id = john.id(); name = john.name(); email = john.email();GitHub - protocolbuffers/protobuf: Protocol Buffers - Google's data interchange …
Protocol Buffers - Google's data interchange format - protocolbuffers/protobuf
GitHubProtocol Buffers Documentation [링크]
언어중립적인 .proto 파일로 데이터의 구조를 정의하면 코드 제너레이터가 언어별로 타입을 맞춰서 class 등의 형태로 만들어준다고 합니다. 이걸 언어별로 include, import 등 해서 사용하는 구조입니다.
기다란 key 이름이 패킷으로 날아다니지 않고, 특히 Json 같은건 파싱 시점마다 “이거 타입이 뭐더라?” 이러는 경우가 많았는데요, protobuf에서는 코드를 짜기 전부터 타입이 고정되는점이 상당히 편리해보였습니다. 헤더파일을 include하면 컴파일러에서 타입이 인식될테니 구조체 이름을 쓰고 점 한번 찍으면 알아서 자동완성해주겠죠.
문제는 이게 C를 지원하지 않는다는 것인데.. 찾아보니 Nanopb라는 녀석이 있었습니다.
Nanopb #
Nanopb is a plain-C implementation of Google's Protocol Buffers data format. It is targeted at 32 bit microcontrollers, but is also fit for other embedded systems with tight (<10 kB ROM, <1 kB RAM) memory constraints.
GitHub - nanopb/nanopb: Protocol Buffers with small code size
Protocol Buffers with small code size. Contribute to nanopb/nanopb development by creating an account on GitHub.
GitHubNanopb - protocol buffers with small code size [링크]
For starters, consider this simple message:
protobufmessage Example { required int32 value = 1; }Save this in
message.protoand compile it, You should now have inmessage.pb.h:ctypedef struct { int32_t value; } Example; extern const pb_msgdesc_t Example_msg; #define Example_fields &Example_msgThen you have to include the nanopb headers and the generated header:
c#include <pb_encode.h> #include "message.pb.h"Now in your main program do this to encode a message:
cExample mymessage = {42}; uint8_t buffer[10]; pb_ostream_t stream = pb_ostream_from_buffer(buffer, sizeof(buffer)); pb_encode(&stream, Example_fields, &mymessage);Nanopb - protocol buffers with small code size
jpa.kapsi.fiNanopb: Overview [링크]
객체를 지원하는 C++, Python에서는 .proto를 제너레이터에 넣고 돌리면 class 타입으로 뽑아주는 반면, Nanopb에서는 struct로 뽑아주고 있습니다.
![Nanopb Docs - concepts 중 Data types [[링크]](https://jpa.kapsi.fi/nanopb/docs/concepts.html#data-types)](/blog/about-nanopb/5_hu_e3dd47f5e11174c8.webp)
protobuf-C 간 매칭되는 타입에 대해서는 따로 표로 정리해두지는 않았지만, 느낌적으로 비슷하다는것 같습니다. 햇갈리면 alltypes 예제를 참고해보면 좋을것 같습니다.

s
딱 한가지, protobuf은 메모리가 넘쳐나는 환경을 가정했는지부럽다 string, repeated(array) 등에서 길이 제한이 없는 데이터타입으로 변환해주는 반면, embedded C에서는 딱히 선택지가 없기 때문에 골치가 아픈 모양입니다. 메시지의 길이를 정해두는게 가장 해피하고, 길이를 정하지 못하는 경우에는 callback으로 처리한다고 합니다.

어..버전이 0.4.x..? 그래도 Android, iOS 등에서 사용한다고 하니 믿고 사용해도 괜찮을것 같습니다.
펌웨어 작성 (Nanopb) #
- RP2040 (Raspberry Pi Pico1 Dev Board)
- Raspberry Pi Pico SDK 2.1.1
- FreeRTOS V11.2.0 (SMP)
위와 같은 환경에서 테스트를 진행합니다. PC와 UART로 연결해 데이터를 인코딩, 디코딩하며 데이터에 따라 LED를 껐다켜보는게 목표입니다.

간단하게 task 3개를 만들어주고 시작했습니다.
s_serial_fetch_task- UART pollings_sender_task- MCU → PC 데이터 인코딩 및 전송s_receiver_task- PC → MCU 데이터 디코딩 및 execute
UART와 LED 점등을 위해 드라이버 2개를 만들었습니다.
serial- UART 송수신; pico/stdlib.h + Polling + Ringbuffer 구조led_builtin- Pico1의 온보드 LED on/off
UART를 통해 데이터를 전송하기 때문에 패킷의 프레이밍을 직접 해줘야하는데, 여기서는 NULL문자(\0)를 프레이밍 단위로 만들어주는 COBS를 사용했습니다. COBS를 위한 C 라이브러리는 cobs-c를 사용했습니다.
마지막으로 조금 더 있어보이게(?) 통신을 하고싶어서 CRC32를 끼워넣었습니다. const 테이블을 만들고 계산하도록 했습니다.
정리하면 이렇게 진행됩니다.
- 발신: protobuf 인코딩 → CRC32 첨가 → COBS 인코딩 → 전송
- 수신: COBS 디코딩 → CRC32 검사 → protobuf 디코딩 → execute
.proto, 코드 생성 #
메시지의 형태를 담는 .proto 파일을 만든 뒤, 코드 제너레이터로 C언어 헤더파일을 생성합니다. 제너레이터는 Python을 사용하기 때문에 venv를 만들고 requirement를 설치했습니다.
message.protoprotobufsyntax = "proto3"; message Example { int32 value = 1; }
$ git clone --branch nanopb-0.4.9.1 --depth 1 https://github.com/nanopb/nanopb.git
$ python3 -m venv venv
$ source venv/bin/activate
(venv) $ pip install -r nanopb/requirements.txt
(venv) $ python nanopb/generator/nanopb_generator.py message.proto
잘 생성된 모습입니다.
CMake #
nanopb_import.cmakemakefileset(nanopb_BUILD_GENERATOR OFF CACHE BOOL "Build the protoc plugin for code generation" FORCE) add_subdirectory(lib/nanopb)CMakeLists.txtmakefileinclude(nanopb_import.cmake) # ... target_link_libraries(nanopb_test pico_stdlib FreeRTOS-Kernel FreeRTOS-Kernel-Heap4 protobuf-nanopb-static ) # ...
Encode task #
static void s_sender_task(void *arg) {
  Example data;
  char buff_temp[SND_BUFF_SIZE];
  char buff_out[SND_BUFF_SIZE];

  data.value = 0;

  for (;;) {
    // protobuff encoding
    pb_ostream_t stream = pb_ostream_from_buffer(buff_temp, SND_BUFF_SIZE - 4); // 4 bytes for crc
    bool pb_res = pb_encode(&stream, &Example_msg, &data);
    if (pb_res == false) {
      continue;
    }

    // CRC32 calculation
    uint32_t crc = crc32_calc(buff_temp, stream.bytes_written);
    memcpy(&buff_temp[stream.bytes_written], &crc, sizeof(crc));

    // COBS encoding
    cobs_encode_result cobs_res = cobs_encode(buff_out, SND_BUFF_SIZE - 1, buff_temp, stream.bytes_written + 4);
    if (cobs_res.status != COBS_ENCODE_OK) {
      continue;
    }
    buff_out[cobs_res.out_len] = '\0'; // add NULL
    cobs_res.out_len++;

    // serial transmit
    serial_write(buff_out, cobs_res.out_len);

    data.value++;

    vTaskDelay(pdMS_TO_TICKS(1000));
  }
}
숫자를 1씩 더하며 전송하도록 했습니다.
nanopb는 stream이라는 개념을 통해 인코딩과 동시에 데이터를 전송할 수 있습니다. 문제는 COBS가 중간에 끼여있다 보니 최소 254byte의 버퍼가 결국 필요하게 됩니다.
기다란 데이터를 전송할 일이 생기면 그때 그렇게 해보기로 하고, 지금은 간단히 버퍼를 여러개 만들었습니다.
Decode task #
typedef struct {
  uint8_t len;
} receiver_task_queue_t;
static QueueHandle_t receiver_task_queue_hd = NULL;

static void s_serial_callback(size_t toread_len) {
  if (receiver_task_queue_hd == NULL) {
    return;
  }

  receiver_task_queue_t qdata = {.len = toread_len};
  xQueueSend(receiver_task_queue_hd, &qdata, 0);
}
COBS로 인코딩된 패킷이기 때문에 \0을 기준으로 callback을 호출하도록 했고, callback에서는 그 시점의 패킷 길이를 decode task쪽으로 던져주도록 했습니다.
static void s_receiver_task(void *arg) {
  Example data;
  receiver_task_queue_t qdata;
  char buff_input[RCV_BUFF_SIZE];
  char buff_cobs_decoded[RCV_BUFF_SIZE];

  for (;;) {
    if (xQueueReceive(receiver_task_queue_hd, &qdata, portMAX_DELAY) == pdTRUE) {
      if (qdata.len > RCV_BUFF_SIZE) {
        serial_read(NULL, qdata.len);
        continue;
      }

      serial_read(buff_input, qdata.len);
      if (buff_input[qdata.len - 1] != '\0') {
        continue;
      }
      if (qdata.len == 1) { // only 1byte
        continue;
      }
      qdata.len--; // ignore NULL-terminate (COBS)

      // COBS decoding
      cobs_decode_result cobs_res = cobs_decode(buff_cobs_decoded, RCV_BUFF_SIZE, buff_input, qdata.len);
      if (cobs_res.status != COBS_DECODE_OK) {
        continue;
      }

      // CRC32 check
      // len=5 [1, 1, 1, 1, 1]
      uint32_t crc = crc32_calc(buff_cobs_decoded, cobs_res.out_len - 4);
      uint32_t crc_buff;
      memcpy(&crc_buff, &buff_cobs_decoded[cobs_res.out_len - 4], sizeof(uint32_t));
      if (crc != crc_buff) {
        continue;
      }

      // protobuff decoding
      pb_istream_t stream = pb_istream_from_buffer(buff_cobs_decoded, cobs_res.out_len);
      pb_decode(&stream, &Example_msg, &data);

      // LED
      if (data.value % 2 == 0) {
        led_builtin_on();
      } else {
        led_builtin_off();
      }
    }
  }
}
COBS 디코딩의 경우 버퍼를 새로 만들지 않고 기존 버퍼에 덮어쓰는 inplace 방식이 가능하다고 합니다. 테스트까지 다 하고 나서 보게되어서.. 다음에는 decodeCOBS_inplace를 사용하기로 하고 넘어갔습니다.
디코딩측에서는 숫자가 짝수면 LED를 켜고, 홀수면 끄도록 했습니다.
PC측 코드 작성 (Protobuf) #
PC쪽 코드는 가장 만만한 Python을 사용했습니다. 펌웨어 파트에서 .h, .c 파일을 생성한 것처럼 여기서는 .py 형식의 파이썬 모듈을 생성합니다. protobuf Python 모듈은 동적으로 타입을 생성ㄴㅇㄱ한다고 하는데요, 이런 이유로 VSCode상에서 자동완성이 불가능해 stub 파일을 함께 만들어주는 pyi_out 옵션을 사용합니다. 이러면 .pyi 파일이 함께 만들어집니다.
(venv) $ ./nanopb/generator/protoc message.proto --python_out=. --pyi_out=.
import serial
import zlib
import struct
from cobs import cobs

import message_pb2

PORT = "/dev/tty.usbmodem123123"
BAUD = 115200
TIMEOUT = 1

def read_frame_zero_terminated(ser: serial.Serial) -> bytes:
    """0x00으로 끝나는 한 프레임을 읽어서, 마지막 0x00은 제거한 raw(COBS 인코딩된) 바이트를 리턴."""
    buf = bytearray()
    while True:
        b = ser.read(1)
        if not b:
            continue
        if b == b"\x00":
            return bytes(buf)
        buf.append(b[0])

def decode_frame(frame_cobs: bytes) -> message_pb2.Example:
    """
    frame_cobs: 0x00 terminator 제거된 COBS 인코딩 데이터
    리턴: Protobuf 메시지
    """
    # 1) COBS decode
    decoded = cobs.decode(frame_cobs)

    if len(decoded) < 4:
        raise ValueError(f"decoded too short: {len(decoded)} bytes")

    # 2) CRC32 split (마지막 4바이트)
    payload = decoded[:-4]
    (crc_recv,) = struct.unpack("<I", decoded[-4:])  # little-endian uint32

    # 3) CRC32 verify (CRC-32)
    crc_calc = zlib.crc32(payload) & 0xFFFFFFFF

    if crc_calc != crc_recv:
        raise ValueError(f"CRC mismatch: calc=0x{crc_calc:08X}, recv=0x{crc_recv:08X}")

    # 4) Protobuf decode
    msg = message_pb2.Example()
    msg.ParseFromString(payload)
    return msg

def main():
    ser = serial.Serial(port=PORT, baudrate=BAUD, timeout=TIMEOUT)

    while True:
        frame_cobs = read_frame_zero_terminated(ser)
        try:
            msg = decode_frame(frame_cobs)
            print("OK:", msg, "LED ON" if msg.value % 2 == 0 else "LED OFF")
        except Exception as e:
            print("ERR:", e, " raw_cobs=", frame_cobs)

        ser.write(frame_cobs + b"\x00")

if __name__ == "__main__":
    main()
채찍피티로 뽑아냈습니다. NULL로 끝나는 패킷을 수신하면 COBS 디코딩 → CRC32 검사 → protobuf 디코딩을 순차적으로 진행해 데이터를 출력하고, 패킷을 그대로 돌려보내게 만들었습니다.
테스트 #
잘 되네요. 앞으로 요긴하게 써먹어야겠습니다.